I chose a shell that has been cut vertically as my starting point for this chapter.
 |
Page 92
|
 |
| Page 93 |
I cut the shape out multiple time and arranged them into different designs.
 |
| Page 94 |
 |
| Page 95 |
 |
| Page 96 |
 |
| Page 97 |
 |
| Page 98 |
I folded the paper and used the shell as a stencil to cut out the shapes on the paper.
 |
| Page 99 |
The shapes formed a wonderful pattern. I then recut all the designs in acetate (A4), using a soldering iron, so that I could re-use them easily with paint.
 |
| Page 100 |
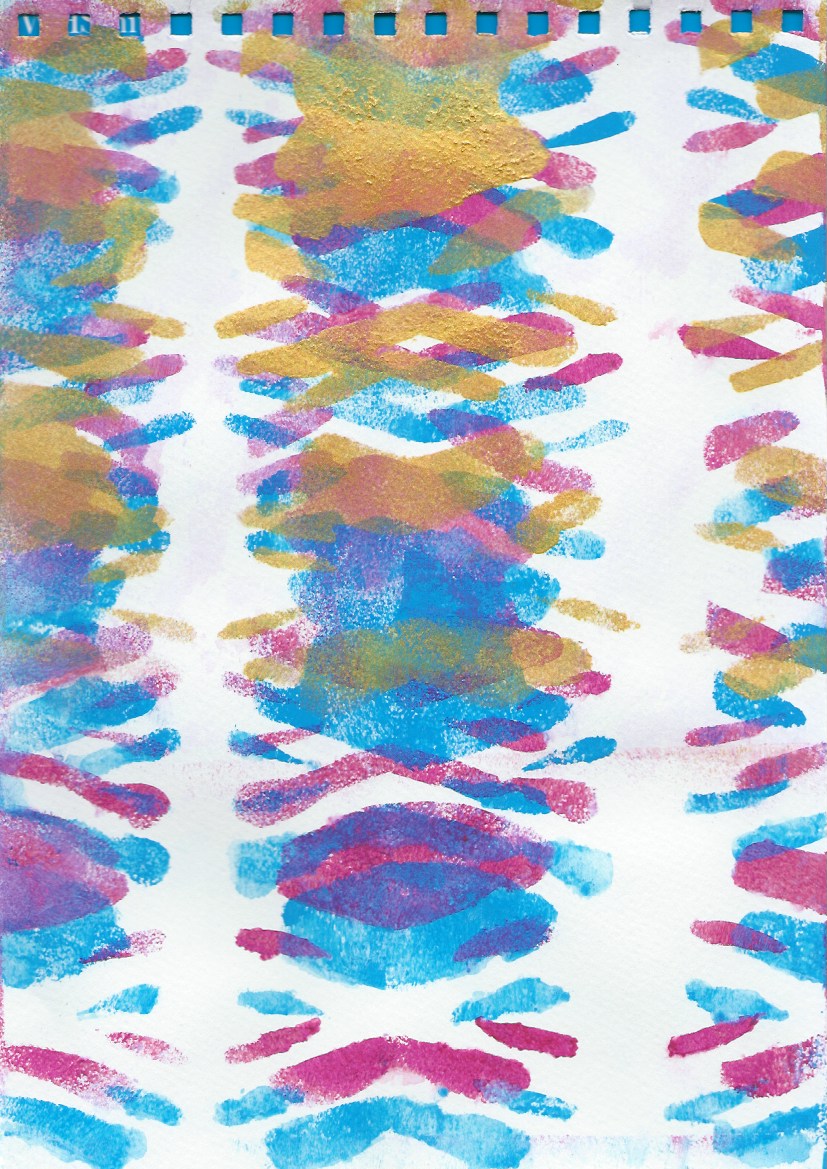
I used a gelliplate to create this print using the acetate stencil, repositioning it and adding more paint.
 |
Page 101
|
Another print taken in a similar fashion to page 100.
 |
| Page 102 |
Another folded paper lace design, using the shell stencil. This was not as successful as the first design.
 |
| Page 103 |
I sponged acrylic paint over the acetate stencil.
 |
| Page 104 |
Working on half the stencil at a time, paint sponged through acetate stencil.
 |
| Page 105 |
Another acetate stencil using acrylic paint, then sponged with bleach over the stencil.
 |
| Page 106 |
I manipulated the picture in Photoshop Elements - distorted with Posterized, +Dust and Scratches.
 |
| Page 107 |
I think this design from a stencil was the least pleasing but I put it into PhotoShop Elements and distorted it.
 |
| Page 108 |
The effect used here is Stamp, quite interesting.
 |
| Page 109 |
I have probably used too many layers here, applying paint and bleach through the stencil and moving the stencil around the paper.
 |
| Page 110 |
After adding Waves + Randomised in Photoshop Elements it has suddenly been given a new lease of life.
 |
| Page 111 |
I think this is my favourite of all the prints I have made. It is acrylic paint and bleach, sponged through a stencil.
 |
| Page 112 |
Using the Fresco distortion in Photoshop Elements, I think this would make a great embroidery.
 |
| Page 113 |
Initially I was disappointed with this gelliplate print.
 |
| Page 114 |
The effect of Posterized in Photoshop Elements gave it a new dimension. I liked it so much that I printed it onto silk. Sadly the shine of the paint on paper didn't transfer particularly well onto the fabric.
 |
Page 115
|
Pages 115 shows another gelliplate print.
 |
Page 116
|
This shows a computer enhanced background with a printed cut shape laid over it.
 |
| Page 117 |
Combining page 100 and 101.
 |
| Page 118 |
Page 112, cut and repositioned, with negative shapes.
 |
| Page 119 |
Not think too much of the initial prints (pages 113 - 114), I have combined the original print with the computer enhanced one and have loosely woven them together. A vaste improvement!