My design ideas have changed since I finished Module 2 although I am still making a lantern. I came up with a series of designs and have used the best features to form the basis for the lantern. My theme is underwater/ocean bed incorporating light and luminescent reflection.
 |
| Design 1 |
 |
| Design 2 |
These designs were based on the spirals of a shell (very complicated) so I simplified it into 2 curving shapes. I liked this idea but wanted to develop it further.
 |
| Design 4 |
 |
| Design 3 |
Design 3 would have been difficult to create as there are too many unsupported parts.
Design 4 has more potential as the spiralling sections are attached to the base.
 |
| Glue Rods |
I made some glue rods (glue from a glue gun melted onto wire, shown in Design 4) to see what was possible but decided that, even when painted they did not tie into the design. I also tried to put the LED lights around the rods but I must have got my positive and negative wires crossed because it didn't work and didn't look good either!
 |
| Glue Tower |
This glue tower, supported on wire was also rejected!!
 |
Water/Lace Sketch
|
I decided to work on Design 4, without the glue feature in the centre and sketched a design to make in soluble fabric.
 |
| Paper Lace Design |
I like the flowing, swirling effect this design created but I would need a firm support to hold the shape in place, especially the upper part of the design.
 |
| Alcohol Ink on Acetate |
Quite by accident I came across alcohol inks on YouTube and I was hooked! This picture shows how delicate and watery the patterns of the ink are. There is little control on what the result will be but I learned that using a minimum of ink produced the best 'watery' results.
 |
| Stitching on Acetate |
I tried stitching onto the acetate but was very disappointed with the results so abandoned this idea.
 |
| Metallic stitch on water soluble fabric |
I stitched in metallic threads working closely with the water/lace sketch.
 |
| Water Lace Closeup |
I stitched with a mixture of automatic stitches and free machine stitches.
 |
| Water Lace with Painted Acetate |
I felt that this particular inked background was too vibrant but it gives an overall 'ocean' effect, which is what I am trying to achieve. I tried cutting the acetate with a soldering iron to create a graduated line across the top but found that the heat left a 'melted' line along the edge. Perhaps I was not moving the soldering iron fast enough. I found that using a pair of scissors produced a much better edge.
 |
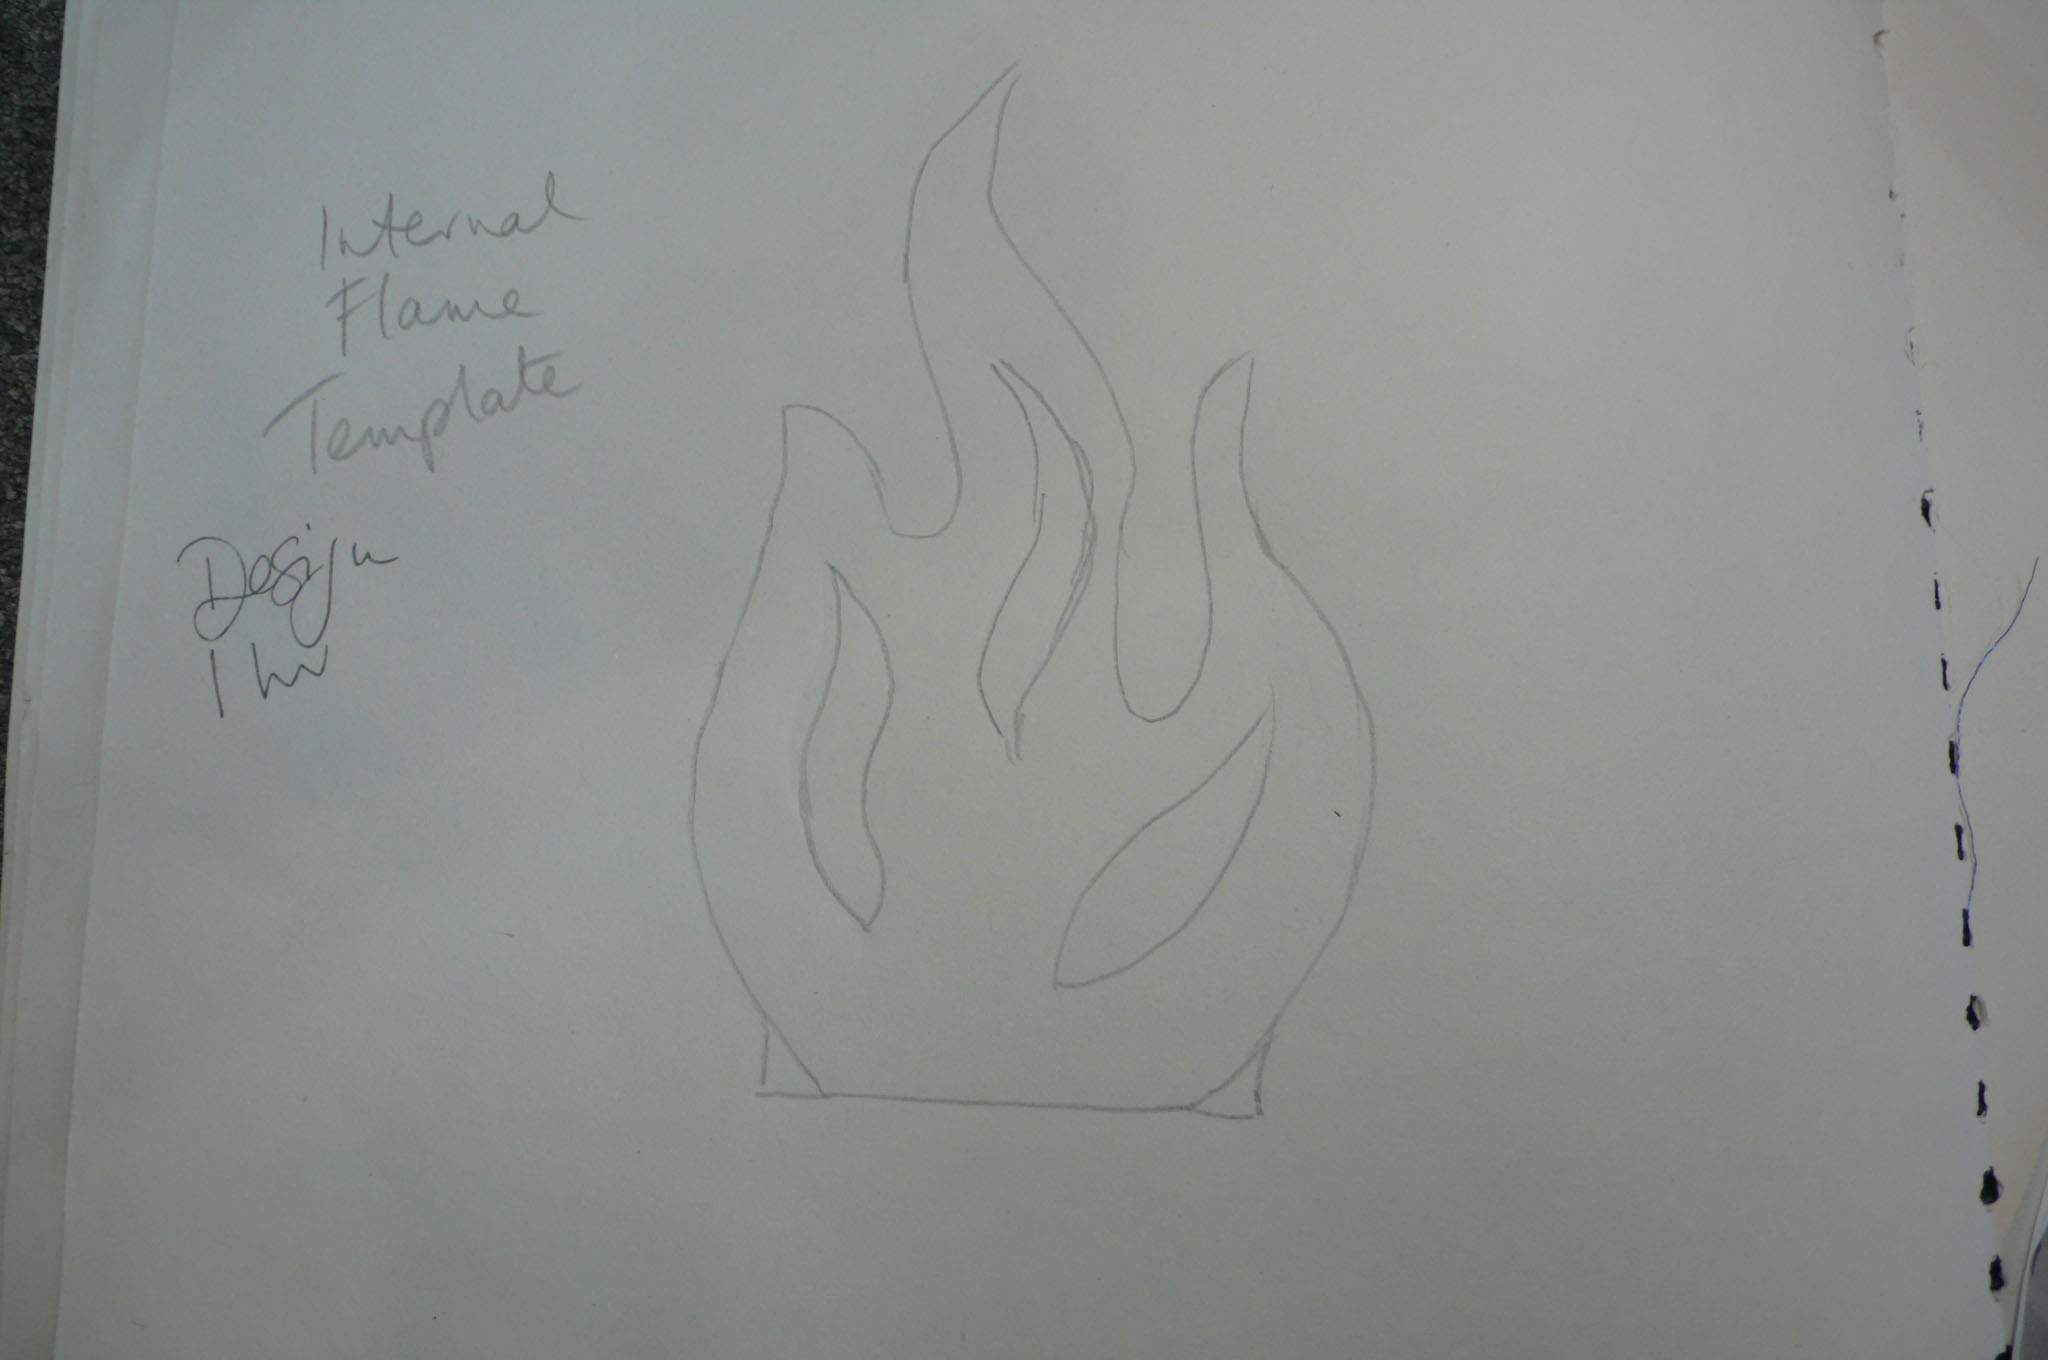
| Internal Flame Template |
Having decided to move away from glue rods, I decided to design an inner spiralling centre, made out of metallic lace.
 |
| Silver Lace Flame |
This flame is supported by wire and when curved, will hold its shape. It will go in the centre of the lantern, and encircle the LED lights. Because it is stitched in metallic thread, it will also reflect light outwards.
The whole of the lantern will be attached to an inner central base. The acetate spiral will pierce the base and be glued in place and this will be the main support. The Water Lace will curve around the acetate, which it will use for support. The acetate will slot through a cut spiral in the base and will be glued in position. (I have tested all this out and it works!)
 |
| Base Fabric |
The lantern will stand on a base of embroidered felt. You will notice a spiral of pink stitches in the centre. This is the line that I will cut to slot the acetate into place when I assemble the piece. I have used hand and automatic stitches, on painted felt but still have a long way to go yet.
 |
| Base with Shisha |
The shisha is not stitched down at the moment. I was just experimenting. However it was a sunny day and when the sun hit the mirrors the ceiling was alive with reflections, very satisfying!
 |
| Seabed Circles |
Another experiment in creating 'debris' for the ocean floor.
 |
| Acetate Swirl |
Another idea. Adding a swirl of painted acetate to the base will connect it to the design in the centre. The acetate flows over the edge of the base because I hope by carefully scoring along the edge, I will be able to 'bend' the acetate down over the edge and down the side of the base, as shown in Design 4.
 |
| Partial Mockup of Design |
As you can see here the piece is sitting on a cardboard base. This will have and an embroidered stitched 'skirt' and it is over and down this edge that I hope the acetate swirl will flow.
The main problem I have had is the order of work. After a bit of trial and error I have worked out how to get lights in the centre and have tested this out but I can't put them in until I have completed the base and sides. I will put the electronic switch into the underside of the base so it will not be visible from the top. I have the option of putting the completed base over the turntable I made during lockdown (just for fun!). Once the lights are in place I will add the inner flame, then the acetate swirl/collar and lastly the water lace.