Distant Stitch Diploma, Module 1, Chapter 4 - Shape and Pattern Study

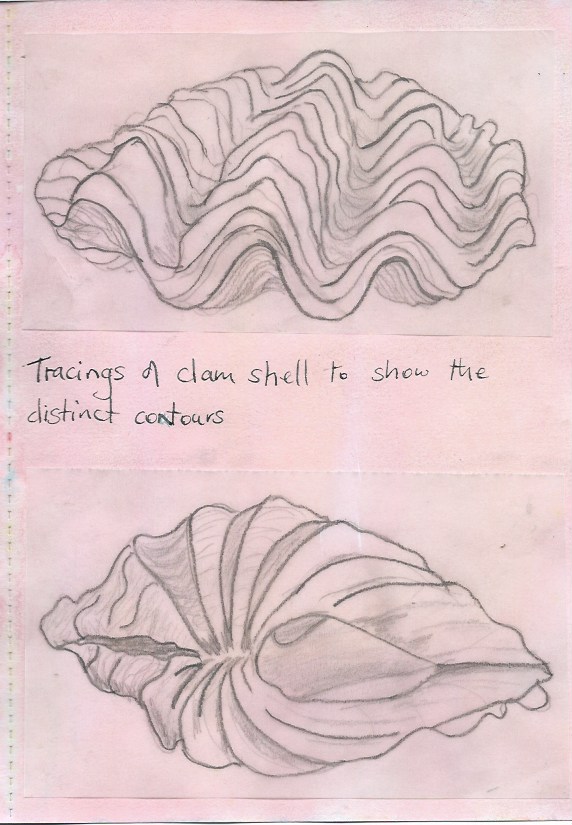
When I started looking for shapes, it wasn't easy to find something with a simple outline in my heap. I had hoped that the oyster shell, with all its nooks and crannies would be interesting but it was the inside contours that were interesting and not the outline. However, I have included my first experiments with the oyster here before I went on to discover the delights of the clam shell.

Page 46
The actual outline of the oyster was a little disappointing so I looked at altering the size of the outline, but still no improvement.


Page 47
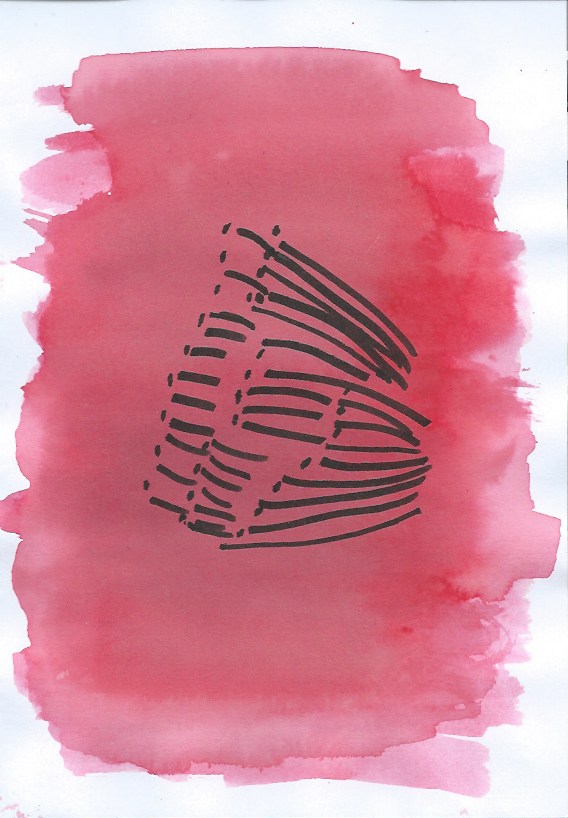
I made a stamp from foam. The print is encouraging, but not what I'm looking for.


Page 48
Again, I can see I'm on the wrong track - a spiral stamp made with string on card.


Page 49
I went back to my photos of the clam shell and at last I have a shape I can work with.  The outline was created from a stamp made of string on foam.


Page 50
I made a solid shape out of foam and used it as a stamp.

Page 51

I made the shape into a variety of sizes and cut out pictures from magazines.


Page 52
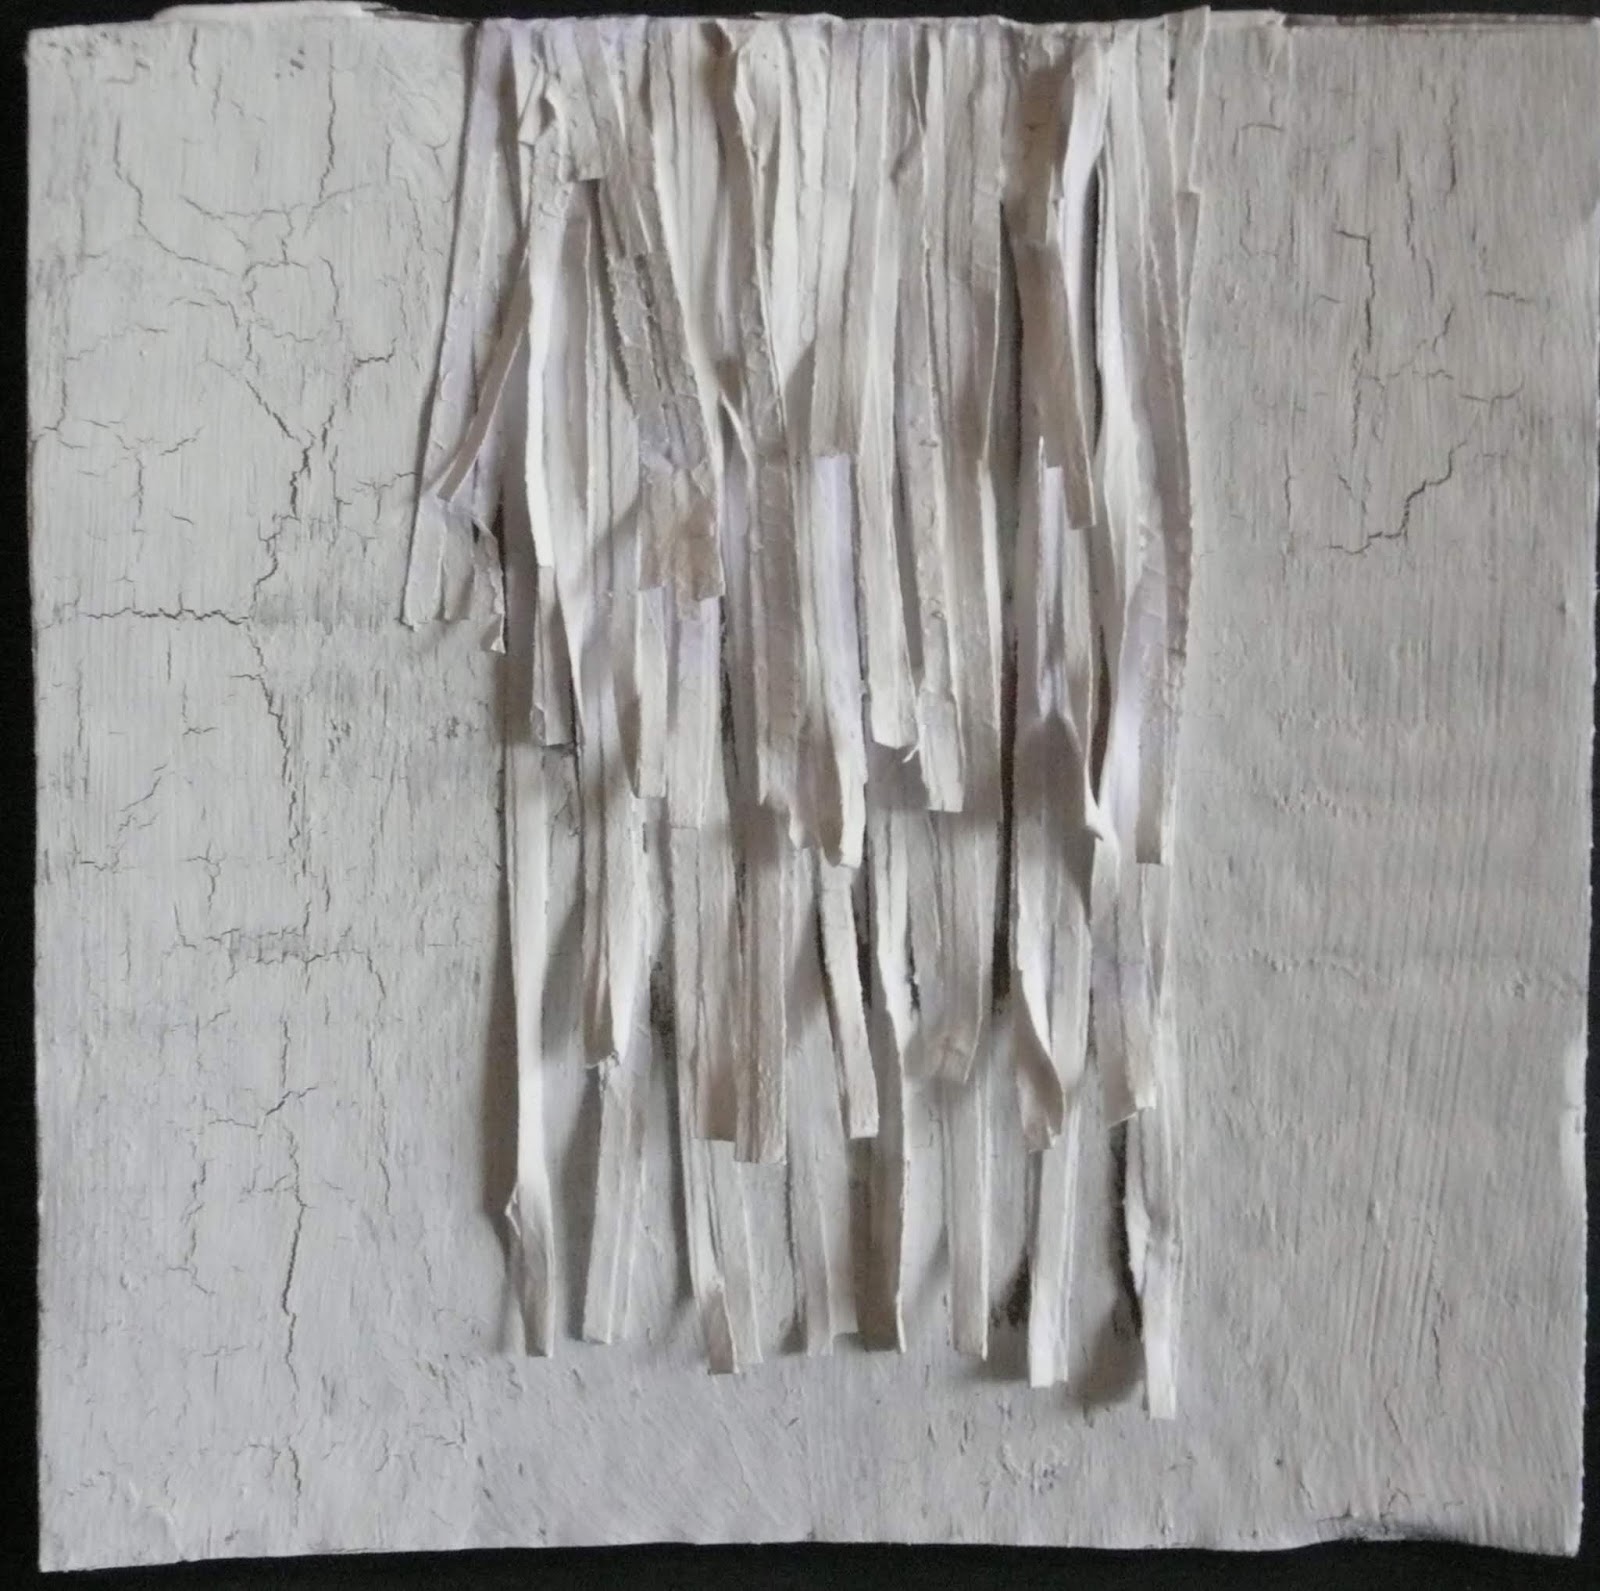
I folded the shapes on page 51 horizontally to create a 'mountain ridge'.  I stitched along the line multiple times without thread.


Page 53
I went back to the solid shapes and arranged them on the paper and stitched round without thread. I then shaded with diagonal lines to emphasise the shapes.


Page 54
This is the reverse of page 53, showing only the stitch outline.


Page 55
The solid shape with diagonal lines of Inktense pencils, lightly dampened with water.


Page 56
A variation on page 55, this time with the solid shape superimposed and then removed.


Page 57
I took the clam shape and folded it then replicated in 4 colours.


Page 58
The new outline formed on page 57.


Page 59
I introduced counterchange in blending colours.


Page 60
I'm not too sure about this one, a bit too cross-eyed for me!


Page 61
This is one of my favourites. The colours are very soothing. I cut it into quarters in the hope of rearranging it and getting a more interesting design. However, nothing worked so I glued it back together and wrote across it. Very happy with this one.


Page 62
The writing is all about coral reefs, coloured over in Inktense pencils,


Page 63
I went back to the solid foam outline and drew round with Inktense pencils repeatedly. I find the overall effect quite pleasing.
Page 64
I made a stamp from the design on page 57. My first attempt at printing in repeat was rather messy, so the sample above is quite small, as I discarded quite a large section.


Page 65
This is a better repeat print, printed onto a coloured background.


Page 66
Another variation on the clam shape, with some interesting patterns emerging.


Page 67
I painted the original shape in counterchange and then drew a Pavona Cactus coral as a line drawing, (sourced from the internet).


Page 68

I traced 3 new shapes from page 67 and drew them in 3 different sizes.


Page 69

I coloured papers, cut them out and arranged them on a black background. I then stitched the clam shape in backstitch in the centre. There didn't seem to be a strong focal point, so I added a small, black clam shape in the centre and nestled it in amongst the shapes.

Page 70

Afterwards, I traced round the coloured shapes to remind myself of the overall design.

Distant Stitch Diploma, Module 1, Chapter 3 - Texture and Surface Relief Study

To create texture, I used tissue paper, loo paper, fabric, computer paper and brown paper. I looked through my heap to find objects with a variety of textures - hard, soft, smooth and rough.

My first choice is the cabbage coral below, taken from a photo on the internet.

Page 28

Page 29
I twisted tissue paper with glue into 'florets' and skimmed the tips with emulsion paint.

Page 30
Mushroom coral.


Page 31

I pleated faux silk and steamed it in the microwave to set the pleats. I then removed the threads.  Next I curved it into a circle and secured it onto card. I skimmed the ridges with emulsion paint.


Page 32

Page 33
Cut strips of paper, folded in half and glued. Layered in differing lengths, painted with emulsion.  Not very successful, I should have built up many more layers, but has potential as a fringe or edging.


Page 34

The oyster shell is covered in texture and the layers appear to be almost haphazard, compared to  other shells.

Page 35
I  enjoyed making this sample the most. I used torn strips of brown paper that I painted first with PVA glue and then with emulsion.


Page 36
Staghorn coral.

Page 37
I used a glue gun to create the shapes for this sample. I built the glue up in layers to try and create a 3D effect. I painted over the top with emulsion.


Page 38
I almost discarded this shell because I thought it was rather boring to look at. Quite by accident I turned the shell over and discovered this view! Live sea urchins, covered in spines, would also be a good subject to look at.


Page 39
I put modelling clay over the base of the shell to make an imprint and was amazed and delighted with the result. I painted it very lightly with emulsion as I didn't want to lose any of the details.

Page 40
My large sea snail shell, showing the spiral pattern.


Page 41

I cut a tapering piece of scrim and soaked it in PVA glue then wound it into a spiral. I skimmed the tips of the fabric with emulsion.


Page 42
Fan coral.


Page 43

I made a stencil from foam to represent a sample of fan coral. In reality it consists of many waving branches. However my design is a very simple one.


Page 44

I started by making a paper pulp, similar to the pulp I had made during the certificate. However it was too thick and lumpy to go through the stencil. I nearly gave up but realised that loo paper breaks up quickly in water, so I made some loo paper pulp and pushed the stencil into it. I was surprised and delighted with the results. I had layered the back of the stencil with extra paper, to give it strength. When it was dry I carefully peeled back as many layers as possible to leave a thin lacy layer.


Page 45
This is a picture of the lacy layer on a light box.

The textures I have created have great potential for incorporating into pieces of embroidery, especially if two or more textures are combined. Looking at the detail of the textures, from the rigid peaks of the hard mushroom coral to the flowing and delicate branches of the soft fan coral, a great deal of scope is offered to create some intricate and imaginative work.


Formal Presentation for Texture and Surface Relief Study


Distant Stitch Diploma, Module 1, Chapter 2 - Use of Sketchbook for informal research

The following images are all from my A5 sketchbook. I have started with a small sea snail shell that I photographed and then sketched. I will be looking at living corals as well as empty shells and coral skeletons as I progress through the diploma.

Page 4

Page 5
I looked at the outline and opening, sketched it and blocked out the shape with charcoal.


Page 6
Here I sketched the top shape with a black pen, end on, and then copied it twice on to acetate, using 2 different thicknesses of felt tip pen.
Page 7
I drew the shell on acetate from different angles.


Page 7
I drew the shell several times, looking at light and shade. I made my drawings in a separate sketchbook, practising until I was happy with the result. I then cut and pasted them into my A5 sketchbook.
Page   9

I have not done a great deal of painting, but equipped with my new gouache paint box I was full of optimism! I found it very difficult trying to get the colour right but will persevere.


Page 10
Much more in my comfort zone here, working with Inktense pencils and experimenting with colours.


Page 11
This is another photo from my collection. The organ pipe coral has a wonderful structure and is one of the few corals that does not lose its colour when it is no longer growing.


Page 11
I found it a difficult subject to sketch, but tracing my drawing helped me to observe the shapes.


Page 13
A larger sketch than the previous one, done directly into the A5 sketchbook.


Page 14
I took the sketch and manipulated it with Photoshop Elements to see if anything new appeared. It just helped to emphasise the lines and ridges.


Page 15
Trying to make everything simple.


Page 16
I sketched it from a different angle and then made a tracing of it, to observe all the different layers.  I used Inktense pencils to colour it.  It ended up looking like a rather delicious cupcake!


Page 18
A close-up of the coral.


Page 18
I'm very pleased with this sketch. It took me a long time but I can see that I'm improving. I'm also beginning to enjoy the process.


Page 19
Back to my coral collection, a photo of the staghorn coral.


Page 20

I found this very hard to sketch, as there were so many different layers and it was difficult so see where one ended and the next one began.


Page 21
 Lots of potential to explore in this photo.


Page 22

Page 23
Back in my comfort zone, using Inktense pencils.

Page 24
I found the sketches on page 24 and 25 in an old sketchbook, so I pasted them into my new one.


Page 25

Page 26
The undulating nature of the clam shell is beautiful.


Page 27