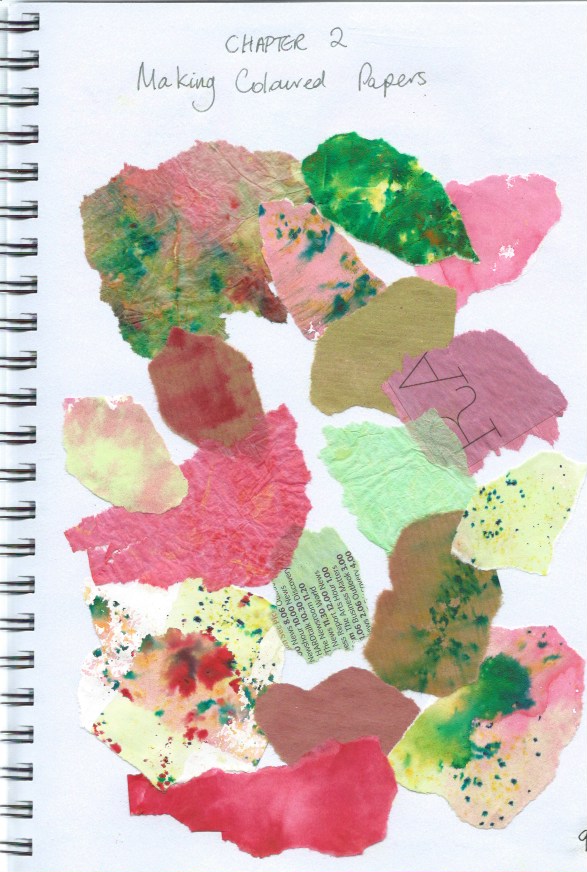
I chose red and green as my complementary pair of colours. I was a little concerned that I might end up with every shade of brown when I mixed them together, but was delighted that this did not turn out to be the case!

I used cartridge paper, newspaper, tissue paper and brown paper. Fortunately it was a sunny day, so I laid the wet papers out in the garden and they dried very quickly.

I decided to base my stamp on the lamb chops and cut a stamp out of foam (the way I've cut stamps before), but it was difficult to position it accurately on the paper, so I cut a smaller stamp out of rubber, which was much more manageable.

My first attempts at printing were rather blotchy and I sometimes left extra marks, using the foam stamp. The rubber stamp, being smaller was much easier to use. I was pleased with the results I have put in my sketchbook. As I was printing the design on page 11, I accidentally spilt some water on the bottom of the page and the ink started to fade. As this was the print using less acrylic paint down the page, after an initial panic, I sprayed more water on the lower part of the page and sponged it off with a kitchen towel, so that not only does the print fade, but so does the background colour.

Next, I selected the shapes from my research and drew them into the back of my coloured paper with the aid of tracing paper and a light box.
I am not particularly neat, so I found the tracing and cutting required a great deal of concentration!

SKETCH BOOK