PAP 3 - August 2023

 I have decided to create a vocal point on each of the pieces. I tried various methods to create the lacy effect of coral, including stitching in scrim and across an aperture. I started working in white thread and then painting it but the lace seemed to sink into the background and had little impact.

1

2


3
I drew the 'stag' coral shape I required on acetate and then stitched the elements on soluble fabric.


4
I made 2 layers of coral. The lower layer is stitched with dark pink as the top thread and purple in the bobbin. I stitched the top layer with dark pink on top and pale pink in the bobbin. The slightly different colour combinations enhanced the overall effect.


5
The eye is now drawn to a vocal point on the lower embroidery.


6

The middle embroidery is still work in progress. I have stitched a band of straight stitches through the piece, becoming erratic as the colour fades, to represent the bleaching of the coral. I will add coral polyps and 'stag' coral pieces in fading colours from pink, to grey to white.


7

Straight stitches in disarray.


8

The top piece is also work in progress. The straight stitches have become more uniform to show that coral reefs are able to adapt to rising sea temperatures and slowly recover.


9
Detail of stitching.


10

The 3 pieces laid out to show the progression of the design.

Distant Stitch Diploma, Module 5, Chapter 12 - Artists Study - Meredith Woolnough

Coypright Meredith Woolnough


I have chosen Meredith Woolnough, a visual and textile artist who works with soluble fabric and free machine embroidery. She is inspired by the natural world, including coral reefs, which ties in with my diploma theme. She lives in Newcastle, NSW, Australia.


She was awarded a Bachelor of Fine Arts at the University of NSW in the early 2000’s, specialising in textiles as a part of her degree and fell in love with all forms of textile art as a result.  


Meredith starts by drawing and photographing natural specimens and then develops her ideas in her sketchbook. She transfers her designs onto water soluble fabric and uses free machine embroidery to create her beautiful artwork.


Copyright Meredith Woolnough

Her love for coral comes from her experiences of scuba diving. She presents her coral embroideries as three dimensional pieces, pinned proud of their backing so that shadows come into play. Coral used to be taken for jewellery but by creating her artworks, she enables people to display the beauty of coral in their homes, without destroying coral colonies and their natural habitat.


Meredith has exhibited and sold her work worldwide, is the author of two books ‘Organic Embroidery’ (2018) and ‘The 100 Embroideries Project (2023) and teaches both in person and online classes.


Distant Stitch Diploma, Module 5, Chapter 11 - Large Scale Assessment Piece

I've decided to make a garment for PAP 4. I started with a simple design and worked through various options, until I was satisfied with my ideas.


127

Very simple design to start with. Mermaid jacket?

128


129

'Clam' sleeves and fish scales - probably not!

130

Looking at design ideas associated with my theme of 'coral reefs'.


131


I think there may be some mileage in the fishy sleeves.


132

Developing the 'fish idea' further.

133


134

The sleeves to be stitched in clear organza with the fish outline added with free machine embroidery, up one sleeve and down the other! The collar to be made from individual coral branches, multi-layered. The lower border is still to be developed further. It could be based on mushroom coral and brain coral. The main body of the garment will possibly be made from faux silk, possibly with quilting.  I haven't decied on a colour palette yet. Samples to follow.


135


136

The fringe to be stitched as a lettuce stitch hem, organza or similar cut on the bias, so that the individual strips curl and show movement. The fringe may be applied to the underseam of the sleeve and around the cuff.

137

My next issue is where to display it. I could ask an aquarium but I would like it close to the sea. On the beach we go to every year there are several sea groynes to protect the sand from being washed away. Thirty five years ago we could clamber all over them and sit on them which was very enjoyable. Nowadays, this not permitted.


138

Maybe I could find a suitable place to display PAP 4!


Distant Stitch Diploma, Module 5, Chapter 10 - Three Resolved Samples Based On Designs

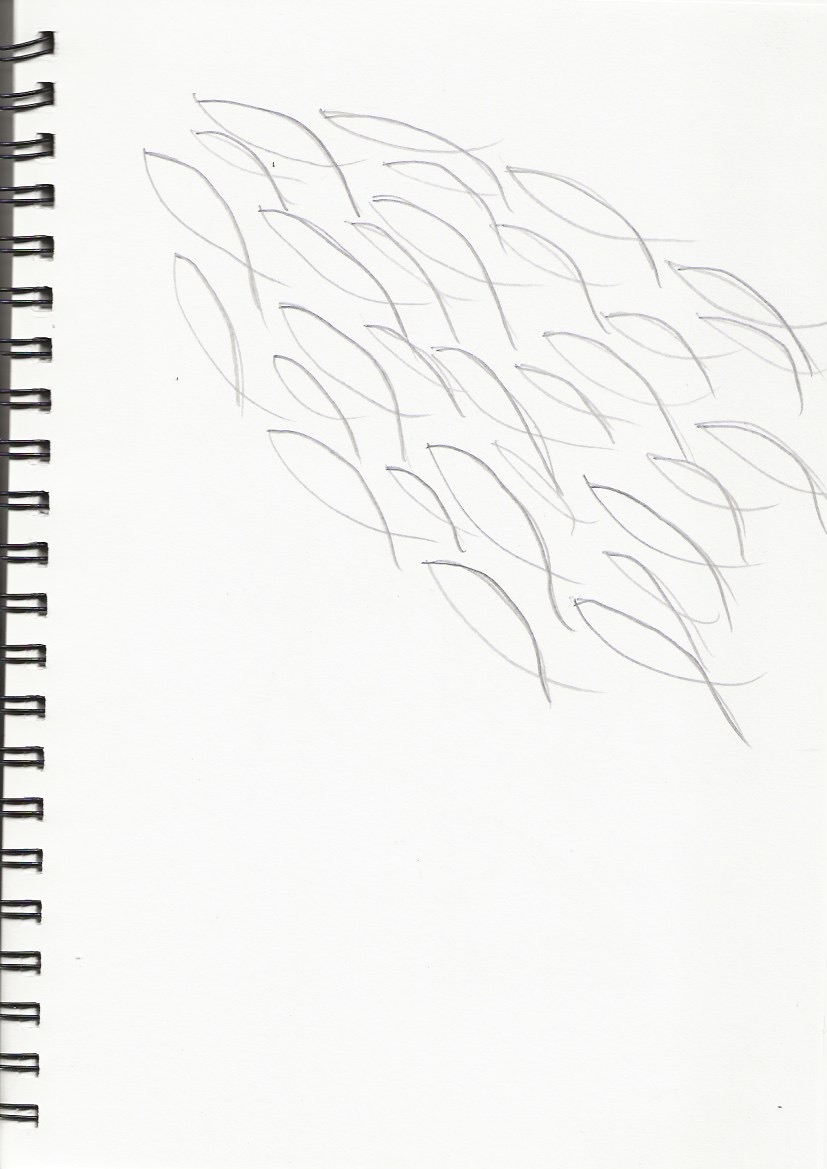
My first resolved piece is based on a gelliplate print from Module 2.

111


112

I made paper pulp and pressed the original stencil into it (carefully!) to form a shape. I removed the unwanted pulp and left the shape to dry.


113

It fragmented as it dried but created a fragile shape in the process.


114

I painted the shape with silk paints.


115

I made a piece of silk paper using silk waste and CMC paste.


116

I layered the paper shape over the silk paper and added small straight stitches. The stitches are 2 strands and darker at the bottom changing to smaller stitches that are 1 strand and lighter at the top, resulting in a very delicate resolved sample.


117

All change for my second and third pieces! This design was one of my first ideas for PAP3. It shows many changes in colour and movement.


118

I chose to make a paper background and added colour to the wet pulp by sprinkling over Brusho ink powder. The colours merged into one another beautifully and I like the textured finish to the paper. In retrospect, it might have been idea to add a layer of light varnish as the surface appears fairly dull.


119

I used vanishing muslin to create a lace effect. I have not used it much in the past and was very pleased how easy it was removed with a heat gun.


120

The result is a reverse of the the original image and conveys movement, perhaps swirling water or underwater looking up through rocks but lacks the shimmer of water.


121

My second piece revisited. I've painted it with CMC paste and it has really brought it to life, what an improvement. The dark areas appeared where the CMC paste was thicker. I dabbed some of it off, but I think the 'burnt' effect gives it more impact.


122

This last piece was quite a challenge. It is my face from Module 2.


123

 I started by tracing the shapes of the original design.


124

I stitched the design onto clear soluble fabric and laid it over pre-dyed silk waste.


125

To create the silk paper, I added CMC paste, which disolved the soluble fabric and both pieces fused together.


126

Once it had dried, I added more stitching and cut it into strips, backing it onto white paper. I'm not over pleased with the result. I think it would have been better to have used a different coloured thread on the soluble film and stopped at that point.


Distant Stitch Diploma, Module 5, Chapter 9 - Designing with Layers

I have worked through section A and B. 

SECTION A

81
Jigzag lines on cling film.


82

Folded to explore markings.


83

84


85


86

Layered cling film.

87

Image manipulated in Photoshop Elements, - watercolour effect.


88
The process repeated over again, with watercolour effect.


89
The layers become more pronounced by repeating the watercolour effect.


90
On this final version, the colours show the effect of depth, with the darker colours on top and the paler colours in the background.


91

92

Experimenting with a variety of folds.


93

94

Using the 'Ocean Ripple' effect.


95
Repeating the 'Ocean Ripple' effect, but not much of a change.


96

Using the 'Plaster' effect.


SECTION B

97
I placed a piece of dried sponge under glass.


98

The sponge painted onto acetate, in acrylic paints.


99

Image shape revealed under acrylic paint.


100
Positive shape painted in black and gold.


101
Acetate scratched to reveal sponge shape,


102
Tracing of shape.


103

Tracing machine stitched in black and gold.

104

Two layers - 101 and 102.
105

Layers 101 and 103.


106

Layers 100 and 102

107

Layers 98, 102 and 100

108
Layers 98 and 103.


109

Layers 100, 102 and 103.