Distant Stitch Diploma Module 5 Chapter 2 - Stitching in the Air


Removable grounds have many uses, acting as a stabiliser while stitching or becoming part of the finished piece. I have started with dissolvable fabrics.


6
 I chose a hexagonal shapes as this relates to my theme of 'coral reefs'. Some coral skeletons are hexagonal. Using a range of free machine and hand stitching, in a varying densities, the sample is stitched with cocoon strippings and dissolvable fabric.


7

The fish are back! Two layers of stitching on dissolvable fabric, layered with fish attached.


8

Two layers of stitching on Romeo.  The lower layer is made from 'rosettes' made by cutting a circle in a piece of fabric and machine stitching across the hole, then cutting the stitching away from the fabric. These rosettes were stitched together using free machine embroidery. The top layer is a series of rings stitched on soluble fabric.


9

Cords, free machine and hand stitched, worked between Aquabond 2 and Romeo.


10

Aquabond 2 layered with cocoon strippings, cling film and waxed honesty seed cases. Romeo placed over the top and machine stitched together.


11

Variegated metallic thread stitched in a circular pattern on soluble fabric.


12

Embellished felt cut into shapes.  Lines of glue were applied to the join the shapes together and then painted white. The piece was turned over, as shown here. Simple but effective.


13

Experiments with painted and rolled tyvek. 

Top right - tubes randomly arranged and loosely stitched in place.
Left - Tyvek 'fans' with small shells.
Bottom - Tyvek tubes mimicking organ coral, soldered together.


14

Two layers of acrylic sheeting, painted with alcohol inks and cut with a soldering iron. Loosely stitched together to give an impression of rippling water.


15

 Coral skeleton shapes stitched on Thermagauze and burnt away with a heat gun.

Distant Stitch Diploma Module 5, Chapter 1 - To Research Stitched and Lace-Like Textiles

I have chosen to look at Broderie Anglaise because I have a few samples that have been passed down through the family and I would like to know more about the technique.

Broderie Anglaise is an ancient technique which is believed to have originated in Czech Republic. It was brought to England in the 19th Century. Traditionally, it is a type of whitework embroidery done with white thread (typically cotton) on a white fabric (usually a plain weave cotton or linen). During this period, it was very popular on women’s and children’s clothing.


1 - Hand stitched sample


2 - Reverse


To produce the embroidery, a series of round or oval holes (eyelets) of varying sizes are pierced in the ground material (usually a fine linen or cotton) with a metal die or a stiletto and then the edges are turned under and neatened with overcast stitch or buttonhole stitch. The eyelets are generally arranged in the form of geometric patterns (especially the earlier examples) and floral motifs (flowers, leaves, stems, etc). The designs are often delineated with simple embroidery. Over time the eyelet holes became bigger, which meant they had to be cut out. This was done with a pair of fine scissors.

There were several other decorative effects associated with Broderie Anglaise. In particular there was ‘beading’ with a fine ladder effect, which was made by drawing out one or more threads and then making very small eyelets along the line. In the twentieth century the beading holes became large and the ‘laddering’ (rectangular or crescent shapes) became more pronounced. Often patterns in whitework embroidery are stitched around the holes. Initially this was carried out with stem stitch, although later padded satin stitch, as well as padded dots and embroidered lace fillings (in the larger holes) were applied.

The designs and techniques were copied by St. Gallen embroidery machines from the 1870's onwards.


3 - Front of Victorian child's dress


4 - Detail of machine stitching


Broderie Anglaise is now also known as Ayrshire work, English work, Eyelet work, Madeira work, or Swiss work.


5


My first attempt at Broderie Anglaise, a lot more practice required!

PAP 3 continued


 Design ideas

1


2
3


4

5


6


7


8


9


10

11
12


PAP3 2D Stretched Panel

I have been working on the design for my third personal assessment piece. As usual I started with too many ideas and have been working on finding a simple design that I can execute well.

I am staying with my theme of Coral Reef and started by drawing an underwater scene, looking up to the surface of the ocean. I saw a hexagonal canvas in the local art shop and liked the shape, so decided to use it for this project.

I sketched and painted brain coral and sea urchins and then applied various digital effects to look at the drawing from other angles. 

206


207

I liked this enhancement the best, but as I have decided to make it using felt, I thought it was over-complicated. In addition, I wasn't making any use of the hexagonal shape of the frame.


208


I looked at hexagonal shaped coral and found that some bleached coral has a hexagonal shape.  I was very pleased with this simple design. I was tempted to add small fish at the top right of the sketch, but decided that they weren't needed so removed them.


209
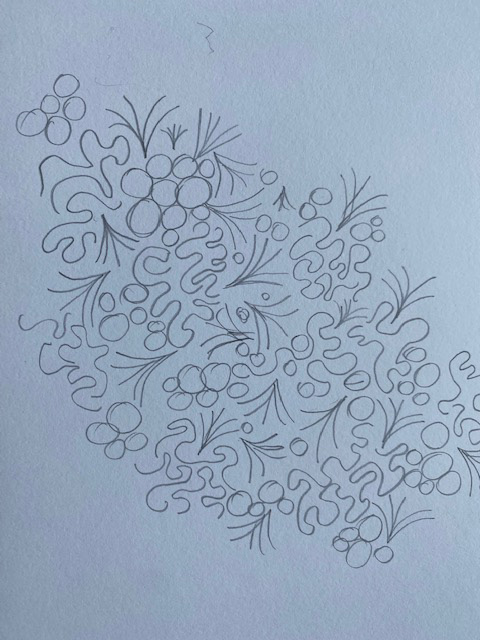
The wavy lines, representing water, will be created in felt and will cover the whole shape, with the hexagonal embroidery stitched on top.


210

Another variation on the background design.


211

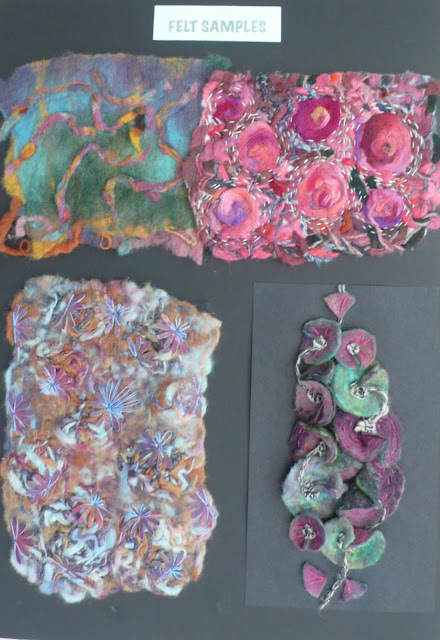
This piece of felt is purely an experiment in embellishing felt to create the motion of ripples and movement. I am not sure what colours I will use (not browns!) but this sample shows that by embellishing strands of wool together, a pleasing effect can be created.


Distant Stitch Diploma, Module 4 - Course Summary


Distant Stitch Diploma, Module 4, Chapter 13 - Contemporary Textile Artists


206


207


208


Distant Stitch Diploma, Module 4 - Presentation Boards 2


Presentation Board 4


Presentation Board 5


Presentation Board 6


Distant Stitch Diploma, Module 4, Chapter 12 - Designs and Samples for Third Assessment Piece

For my third presentation piece, I am working on a 2-dimensional design. Within the design I hope to create a 3-dimensional effect by using colour and light to show perspective. My initial idea is to create a view from the seabed looking up towards the surface of the sea, looking through rock formations.

191

I have used the slip shapes as stencils to start the design, using a small stencil at the top centre of the drawing to denote distance, gradually changing to a large stencil to depict foreground.


192

I have added shading, lighter shading to show distance, darker colours to show foreground.


193
A variation on the first drawing.


194

Looking at possible colour ranges in gouache. 

Bottom row - I have mixed Naples Yellow with white on the far left, graduating through to Cerulean Blue with black in the centre.


195
A colour chart to take a closer look at shading.


196

Colour shading applied to the design. There are not enough shades here to clearly depict a third dimension.


197
I decided that the 'breaks' in the foreground were not very effective, so painted over them.


198
I applied a digital effect over the painting (Fresco), which has enhanced the design and has helped to develop the foreground.


199

Another digital effect (Glowing Edges). Here the background and foreground are not very distinguishable, but I love the drama that has been recreated.


200
Looking back to a design I created in Chapter 4, I have coloured Yupo paper with alcohol inks to create  the background (the surface of the sea, in the distance).


201

I cut out the shape from the centre of the design onto black felt and cut small pieces of polyester organza in various colours.


202
Using a soldering iron, I lightly marked them down onto the felt and cut round to reveal the shape.


203
I marked the organza down with firm marks to create a pattern on the organza and lightly glued the Yupo design underneath.


204
I have added strong pink stitches to represent light streaming through the water from the surface above. The other stitches are purely experimental at this stage, just to see how well the colours marry with the background.


205

In this sample, I have gone back to my original colours and have tried to blend the colours to create a gradual colour change from blue/black to pale yellow. The markings in the lower part are much bolder so that it appears that the lower part of the sample is the foreground and the paler top section, with lighter marks recedes to the distance. I also spaced the markings further apart in the lower section and closer together in the upper section to try and create the illusion of distance.