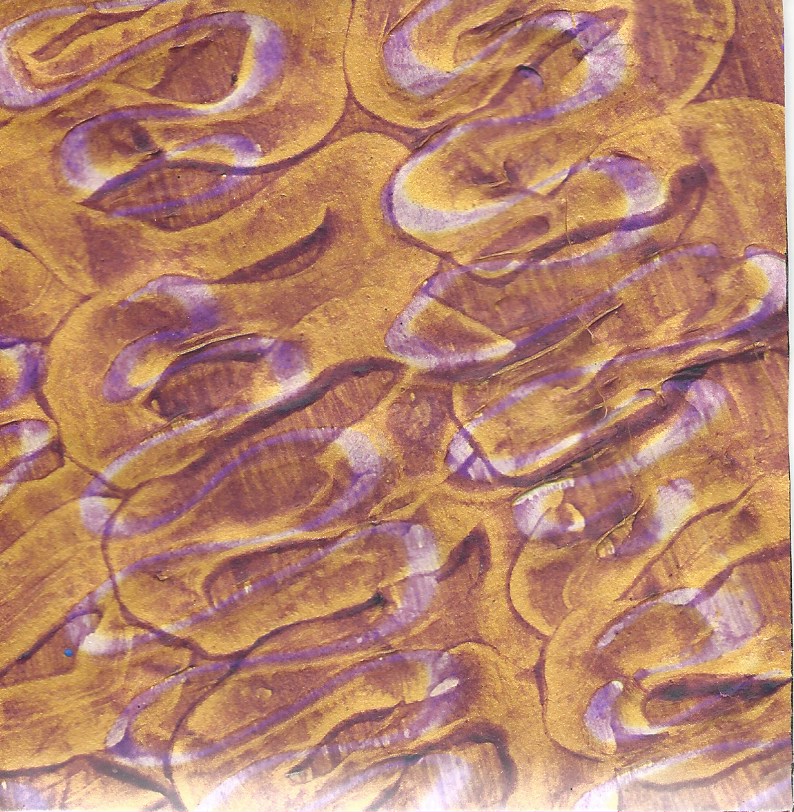
The first decorated paper I have chosen to interpret in stitch comes from my Opus Anglicanum study.
 |
| Page 120 |
 |
| Page 121 |
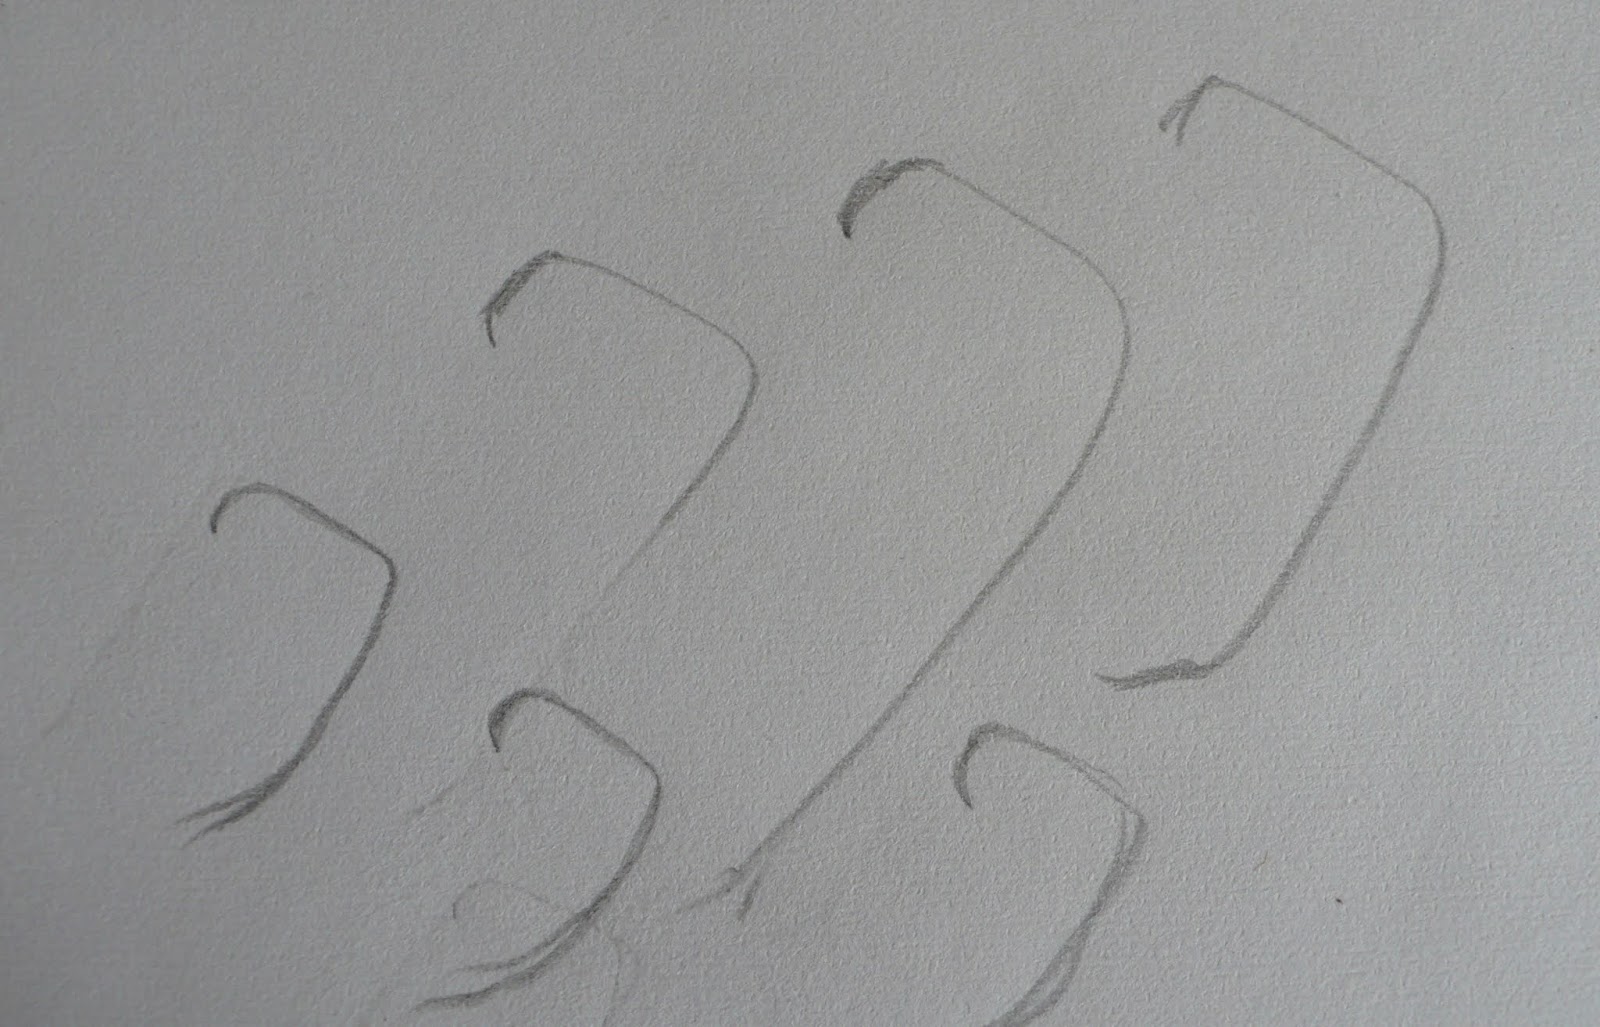
A sketch of the decorated paper.
 |
| Page 122 |
I painted bondaweb and ironed it onto black felt. Next I hand stitched and then overstitched with a large automatic stitch (M3/38 L2.5, feeddogs up). This flattened the hand stitching and made it blend into a smooth background. I partially brushed the surface lightly with gold paint.
 |
| Page 123 |
For the next layer I used a wide zigzag stitch in gold thread to create waves and loops. I created cords using organza, some of which I stitched onto wires. I stitched the unwired ones onto the surface and coiled the wired ones. Before couching down the wired cords, I twisted them round a thin rod to create a purl. I added bought, purple, plastic coils at intervals onto the purls.
 |
| Page 124 |
This relief paper was inspired by herringbone stitch found on Indian embroidery.
 |
| Page 125 |
I found it helpful to look at the layers and drew them out on tracing paper.
 |
| Page 126 |
I started by painting pelmet vilene green and used an automatic stitch (M3/95) to add texture to the background. Some areas of the design are more textured than others, so I densely stitched metallic thread onto a piece of faux silk and painted the embroidery with shades of green, to use an an appliqué.
 |
| Page 127 |
The resulting embroidery shows the appliquéd pieces in triangular and diamond forms. I surrounded some of the forms with green/black/gold cord and added touches of gold foil to the outlines. I then created a network of thick green thread over the top. I added touches of silver foil to this thread.
 |
| Page 128 |
I've returned to my own embroidery for inspiration for the next embroidery. I made a clay cast from the surface of the embroidery and used this to create the design below.
 |
| Page 129 |
I created the design on paper by putting the clay under the paper and colouring over the top with paintsticks.
 |
| Page 130 |
I used a gelliplate to create the colours, then pressed faux silk on top to make a print. The fabric kept its sheen and the paint gave the fabric a little more body. I stitched the circles in metallic threads using whip stitch, in graduated colours to blend with the background. I covered and coiled wire in a similar style. The centres were created from tomato puree tubes, using both sides of the metal. I used a wing needle to make the perforations. The centre metal circle shows the perforations from the top, as stitched, the other circles have been turned over to reveal the sharp edges of the holes.
 |
| Page 131 |
Close up.
 |
| Page 132 |
This decorated paper is based on brick stitch.
 |
| Page 133 |
I drew several sketches, looking for the essence of the design.
 |
| Page 134 |
I settled on blocks, as in the original design but rearranged them slightly.
 |
| Page 135 |
The background is painted bondaweb, ironed onto black felt. I overstitched this with blocks of dark blue yarn to hint at the brick shapes. I heavily machine stitched the four shapes with several shades of metallic blue threads and then I added touches of gold foil on top. The final layer consisted of the inside of tomato puree tins heavily punctured by a wing needle, to blend into the block shape.
 |
| Page 136 |
A block print from a decorated paper.
 |
| Page 137 |
To create the background I made a print using a gelliplate and then placed it on black felt. I worked my embellisher over the surface which broke up the faux silk very quickly, which both surprised and delighted me. I skimmed over the surface with gold paint. The background colours melted into the felt, but the surface is rather fragile, so I have had to handle it with great care.
 |
| Page 138 |
I have only used hand stitch on this piece. I have added texture using fancy threads and beads. The thin straight lines were achieved by foiling onto plexiglue. The foil attached very well but the plexiglue strands are delicate. The colours all blend well together but it is a subdued version of the original.
 |
| Page 139 |
Close up.