C&G Certificate Module 3, Chapter 4 - Decorate with Stitchery


SKETCH BOOK

Page 41
 The background fabric is the dyed and monoprinted cotton from page 32. I started by sewing swirls using whipstitch, with a variegated thread in the bobbin and top thread. I then stitched my dyed synthetic filament thread into four large spirals, using cable stitch. Next I stitched two zigzag spirals within the cable stitch, using two threads (orange and turquoise) as the upper thread. I altered the size of the zigzag, so that it was narrow in the centre of the spiral and wider at the edge. It is mounted on black felt, which I think sets it off well.


Page 42
I forgot to scan the background fabric when doing Chapter 3. It started out as a section from page 36. I then monoprinted it using a piece of crocheted lace to remove parts of the orange and turquoise acrylic paint. I used a paintbrush to make a swirl down the centre of the gelliplate before taking a print. I really liked the background print so decided not to put too much stitching on it. I have tried to create a swirling ribbon, looking at the front and back. I wrapped six strands of variegated embroidery thread with two strands of the same thread and then hand-couched the thread into spirals on the 'front' of the ribbon. On the 'reverse' of the ribbon I free machine stitched spirals with variegated machine thread. I sewed stem stitch on the edge of the ribbon, using a strand of dark orange and dark turquoise for the 'front' of the ribbon and a strand of light orange and light turquoise for the 'back' of the ribbon.


Page 43
I was very disappointed with this monoprint (page 39). I couldn't decide what to do with it as it was so garish and I nearly abandoned it. After several false starts I decided to see how many spiral shapes I could get into it. I started on the outside with whip stitch and then switched to free-machine embroidery. I could see I had two spirals to work with so I chose light orange colours on the outer spiral gradually changing to darker threads as it approached the centre. For the inner spiral I started with dark turquoise at the outer edge and changed to lighter threads as it approached the centre. I used a range of threads including plain and variegated ones.


Page 44
I made this monoprint by adding orange and turquoise acrylic paint to the gelliplate and then making swirls with my finger, (page 38). I decided to keep the stitching simple as there were so many swirls.  I used variations of straight stitch and blanket stitch. I learnt some new stitches - crossed blanket stitch, loop stitch and arrow stitch. I think that you definitely get a feeling of movement is the stitching. I used lighter coloured threads for the swirls in the background and brighter colours in the foreground. In addition the background threads generally consist of fewer strands than those in the foreground. I also mixed orange and turquoise threads together.

C&G Certificate Module 3, Chapter 3 - Fabrics and Threads

I chose turquoise/blue and orange/gold without realising how many fabrics and threads I had in the colour range!

I enjoyed tie-dyeing in Module 2, so it was fun to  have another go, this time with colours. I dyed plain white cottons and silks as well as some of the plain coloured fabrics I had in my stash. I used Dylon again. The cottons took the dye very well and the silks produced more muted colours, but still very attractive.


SKETCH BOOK

Page 29
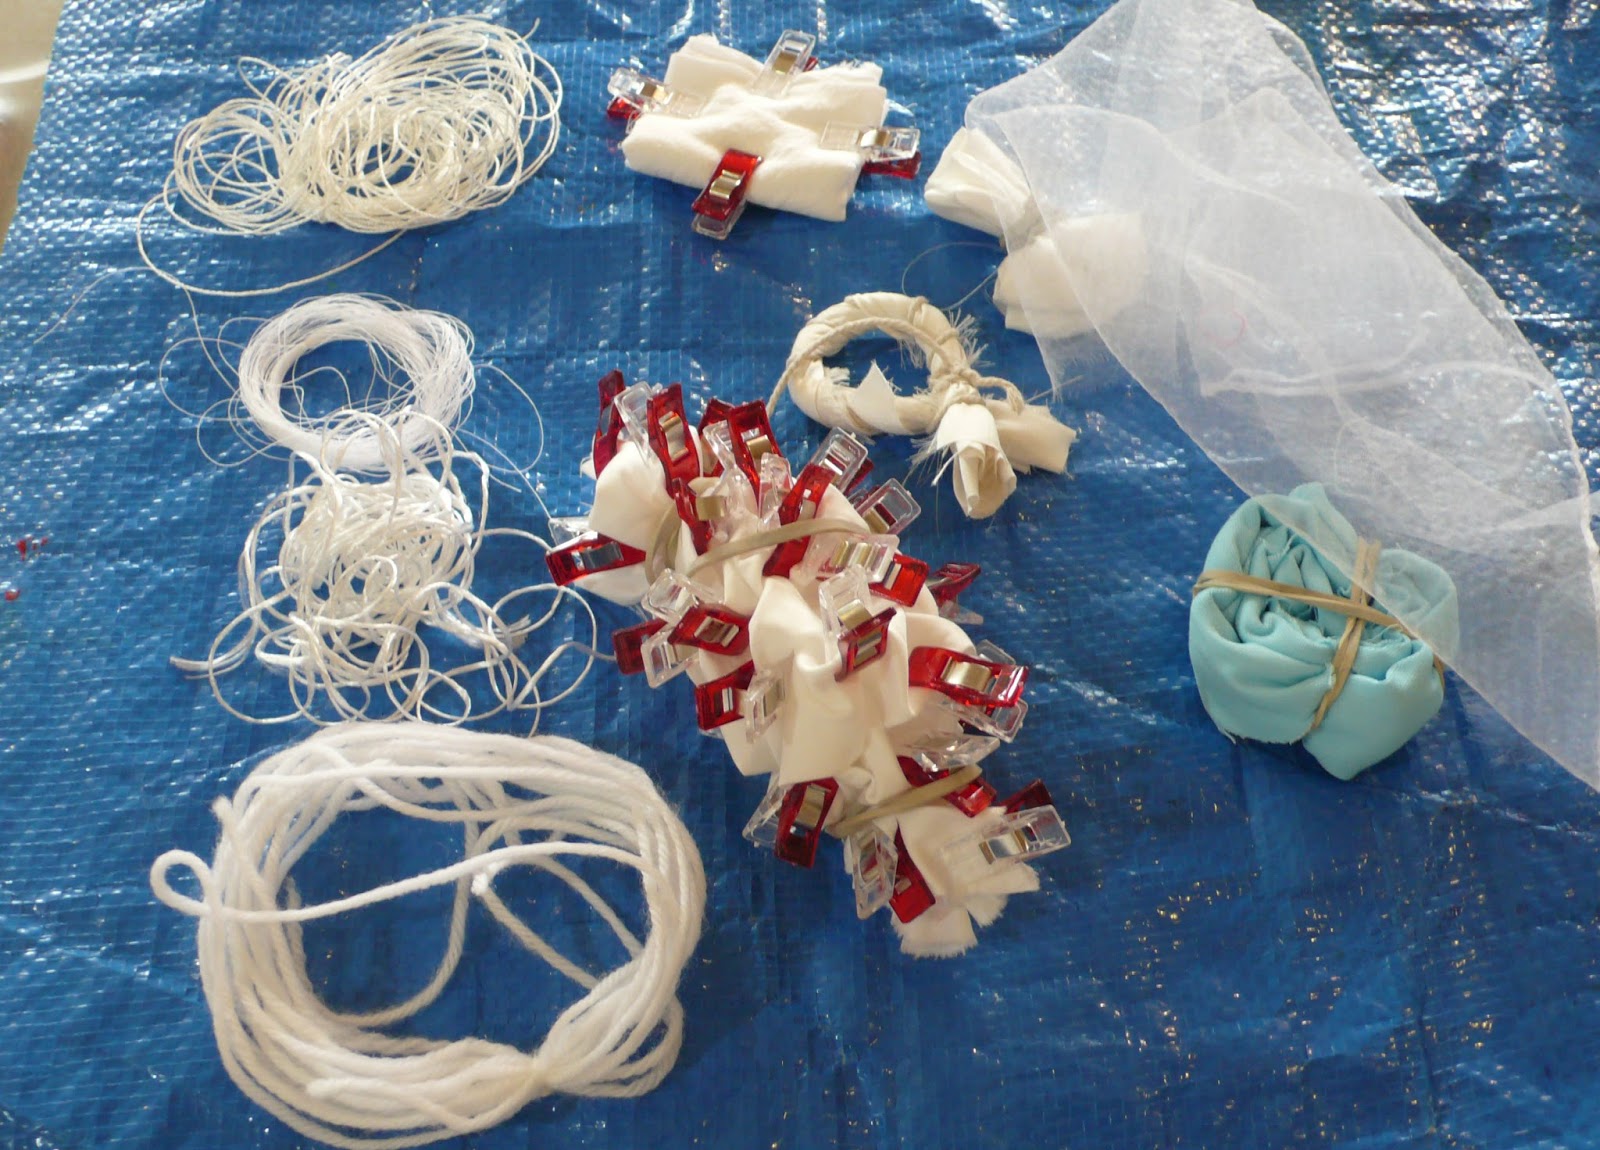
It's all in the preparation!


Page 30
Dip dyed and random dyed cotton and silk fabrics and threads.


Page 31
Various beads, shells and sequins coloured with blue and orange acrylic paint.


Page 32
White cotton  dyed turquoise.


Page 33
White cotton dyed orange.


Page 34
Medium weight white silk dipped into orange dye. I was surprised that the colour appears so pink.


Page 35
The same process as on page 34, this time with turquoise dye. The colour has stayed true to the original.


Page 36
Blue cotton (from my stash) dip dyed with orange.


Page 37
White habotai silk, dip dyed with turquoise and orange. Again the orange appears pink on the silk.


Page 38
White cotton, monoprinted with turquoise and orange acrylic paint and fabric medium.


Page 39
Dyed orange fabric from page 33 monoprinted with turquoise, using a fossil shaped mask.


Page 40
Turquoise cotton fabric from page 32, monoprinted with yellow swirls.

C&G Certificate Module 3, Chapter 2 - Design Work, Spiral Warm-up Exercises


I started this chapter by making myself a colour chart to focus the mind! I used Brusho inks for the chart and to colour the tissue paper and thin card. I coloured the mounts for my work with transfer paints. It's so nice to be working with colour again!


SKETCH BOOK


Page 5


Page 6


Page 7


Page 8
Page 9


Page 10
The background paper was made by monoprinting.


Page 11

Page 12
The coil on the right was cut in a similar fashion to making a paper lantern, across the corrugated card. The mount was coloured with Brusho inks.


Page 13

Page 14

Page 15
Looking (upside down) through the coil.


Page 16
I cut the corrugated card along the grooves this time, again based on a paper lantern.


Page 17


Page 18
I cut the corrugated card 'on the cross' and wound it into spirals. The base is modelling clay.


Page 19


Page 20
MONOPRINTING

Page 21


Page 22

I used spiral shapes as a mask and took a print using blue acrylic paint, then moved the masks and took a print using yellow acrylic paint.


Page 23 - Ghost print from page 22

Page 24
Page 25 - Ghost print from page 24

Page 26

Page 27
I used sequin waste as an additional mask here.
Page 28

I don't have a 'paint' programme but I found these drawings on the internet.


C&G Certificate Module 3, Chapter 1 - Research for Spirals, Man-made and Natural


Using colour again ... I have decided to choose turquoise/blue and orange/gold.

Once I started looking, there seemed to be spirals everywhere. I made the pleated silk arrangement on the left a couple of years ago, after meeting Jean Hodges at the Brockenhurst Needlework Fiesta. I still love it.

Whilst on holiday in Vietnam, I watched a lady in the market trimming a pineapple so that we could eat it. With a very sharp knife she cut one continuous spiral, to remove all the dark 'bits'. It looked so easy!

I'm not sure about man-made, but I have found inspiration from two of my grandchildren, Jake and Henry. The photos were taken on the way to the barber's ... perhaps boy-made?!

SKETCH BOOK


Page 1


Page 2
The photo of the sunflower seed head was one we grew in the garden, the yellow sunflower head came from the internet.


Page 3


Page 4